Guide
How to install Raptor 1 autorotation.
Follow the videos in order: part 1, part 2, then part 3. Keep the installation steps below at hand.
Watch the installation in 3 parts
Prepare the oven and rotation base
Work with a completely cold oven. Keep the autorotation system disconnected from the power supply during installation, and keep the burner off.
Remove the pizza stone to access the centre opening in the oven floor. Place the autorotation base on a stable, level surface, with the controls facing forwards.
Keep the centre shaft clear while preparing the oven.
The autorotation base before the oven is fitted.
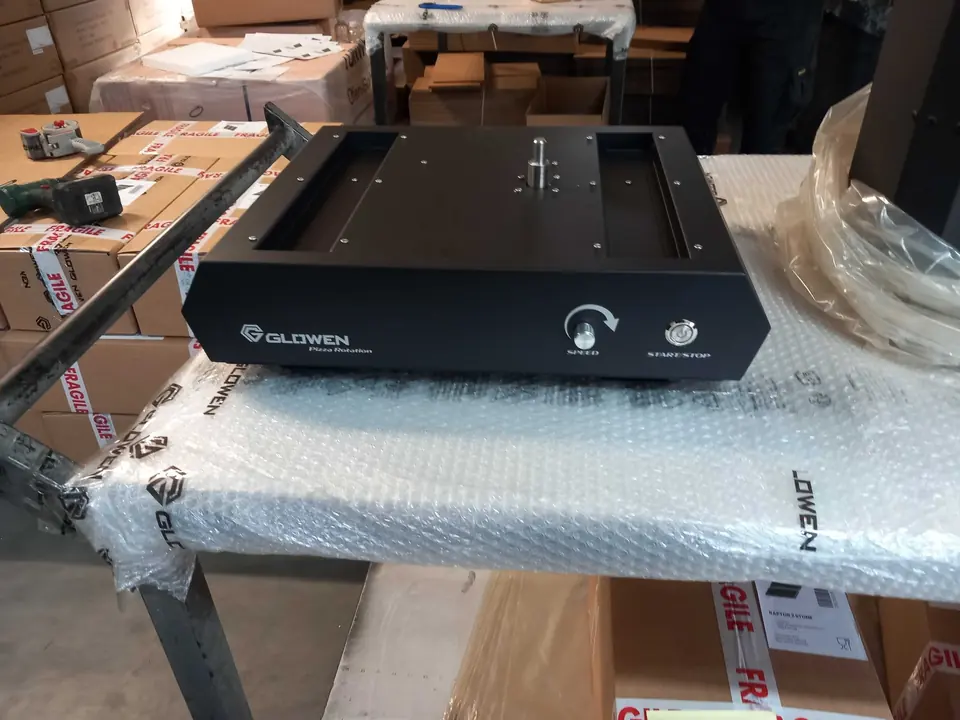
Clear the insulation from inside
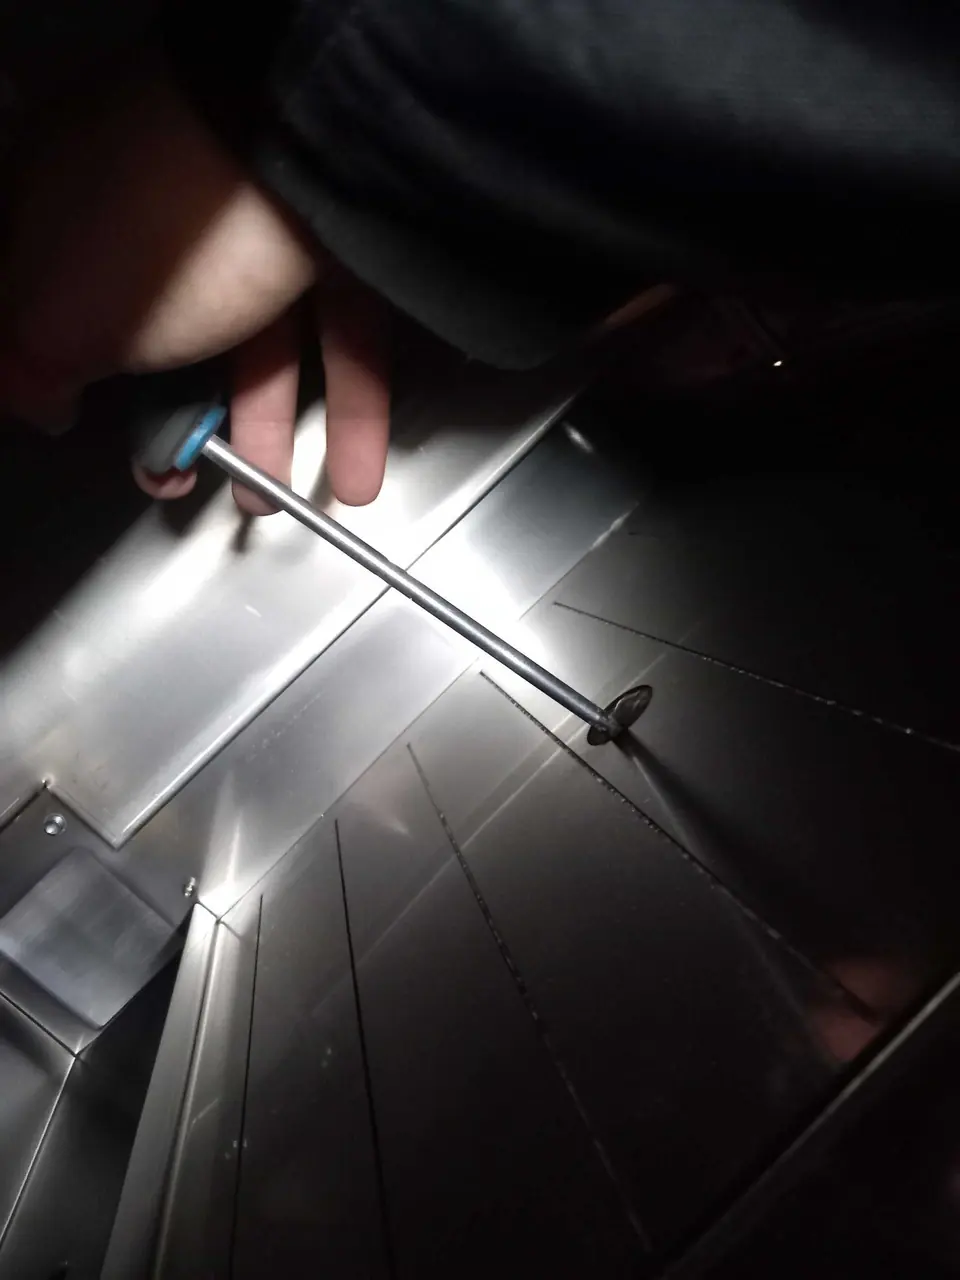
Reach into the cooking chamber and locate the centre opening in the metal floor. Insert a screwdriver through this opening from inside the oven and gently push the insulation out of the shaft's path.
Use gentle pressure on the insulation only. Do not lever against the metal floor, bend it or force the tool through.
Inside the oven → down through the opening.
Never push upwards from underneath.
All three photos show access from inside the oven.
Seat the oven correctly
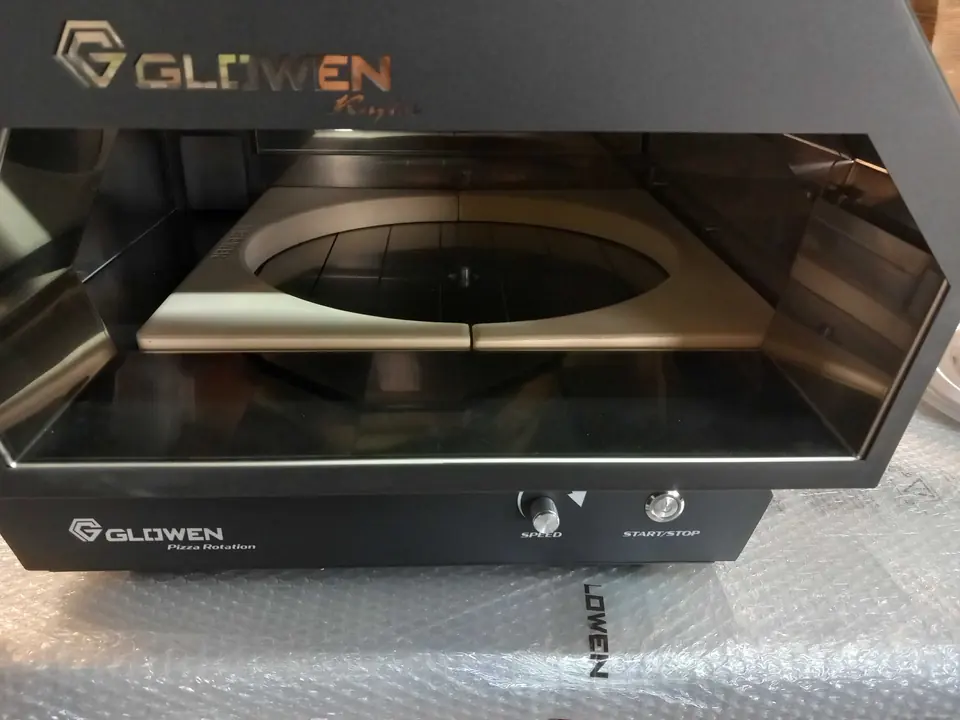
Carefully align the oven's centre opening with the shaft on the autorotation base and lower the oven into position. Get help lifting it if needed.
The oven should sit evenly on the base, with the shaft passing through the centre opening. Do not use the oven's weight to force the shaft through blocked insulation.
If the oven does not sit properly, lift it off and recheck the opening from inside. Once seated correctly, position the surrounding stone sections as shown.
Correctly seated oven with the centre shaft visible.
Fit the turntable and round stone
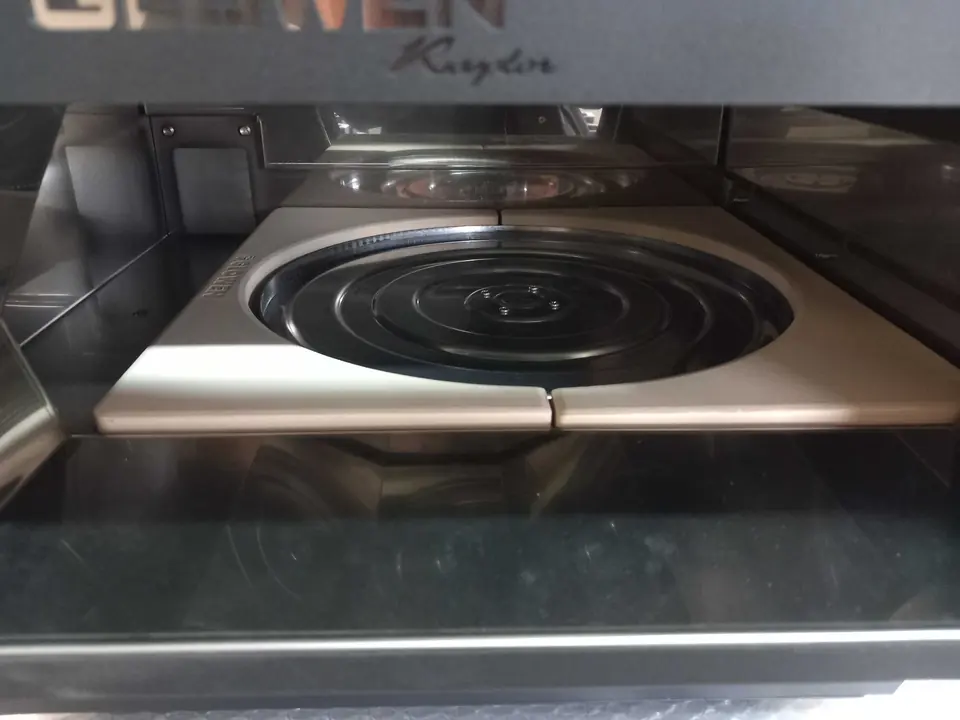
Fit the metal turntable onto the centre shaft, making sure it is properly engaged and sits level.
Place the round pizza stone onto the turntable. Check that it is centred and does not touch the surrounding stone sections.
The rotating assembly must have clearance from the metal oven floor. If anything catches or sits unevenly, recheck the installation before switching on.
The metal turntable in position, ready for the round stone.
Test the rotation before heating
Remove all tools and keep your hands clear of the rotating parts. Connect the autorotation system using its supplied power supply and start it at a low speed while the oven is still cold.
- Check that the stone turns smoothly through a full rotation.
- Listen for scraping and watch for catching or uneven movement.
- Confirm that the oven remains evenly seated on the base.
If you hear scraping or the rotation catches, stop immediately and disconnect the power before checking the fit.
Fully assembled system with the round pizza stone in place.
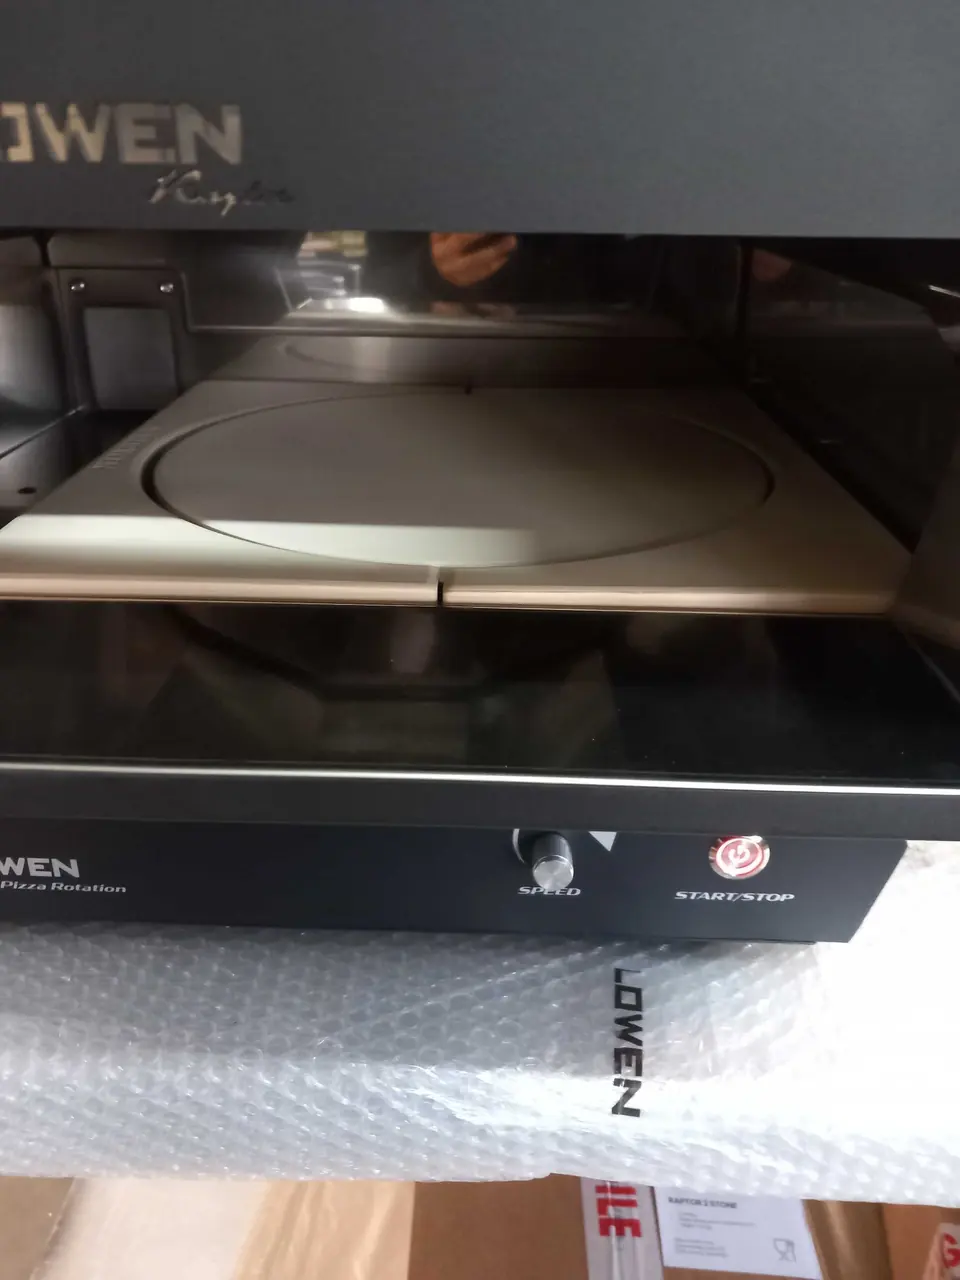
Scraping or catching? Stop and check the fit.
A displaced oven floor can prevent the oven from sitting correctly on the autorotation base. Do not keep running the motor or try to force the assembly into place.
With the oven cold and the power disconnected, recheck the seating and stone alignment. If the floor appears displaced or the problem continues, contact Glowen before using the oven.
Contact Glowen support
Still stuck? Write to us.
Our team in Ormož answers every message: support@glowen.si